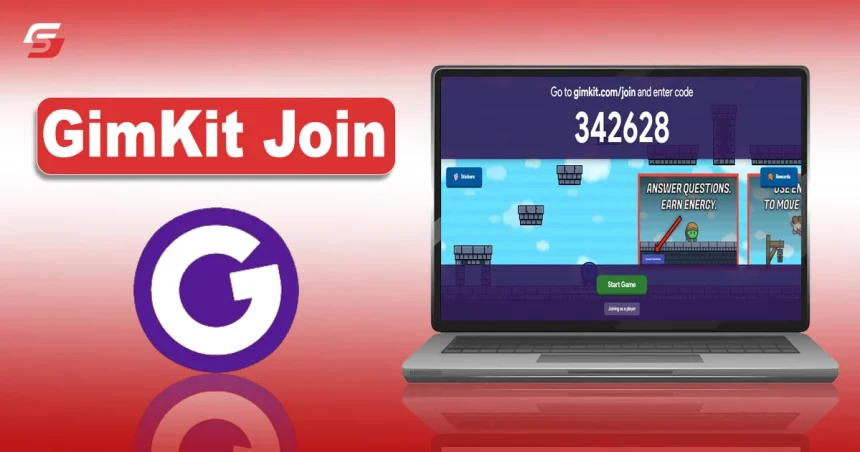
Among so many gaming-learning platforms, Gimkit has earned a unique reputation for its simple and compact approach. Still, some educators are unable to utilize its potential properly. They do not know the steps required for Gimkit Join.
I have seen this query quite often on the web. Therefore, I thought of writing on this today. I have explained the complete procedure from signing up to creating the first quiz.
You must understand them perfectly so that you can avoid any unwanted complications.
Gimkit Join Guide
Before moving ahead to crucial steps, you must remember that Gimkit is an online quiz gaming platform that can be accessed with the help of an active Internet connection. Therefore, it is necessary to install high speed routers. In this way, you can have a seamless experience without any buffering.
In addition, you should acquire a PC or laptop with good processing speed so that it won’t lag when you browse the Internet. Now, move to the steps of Gimkit Join which are mentioned in the undersection.
- Open your updated browser and search for Gimkit.
- On the results page, you have to click on the official website, https://www.gimkit.com/join
- The homepage of the Gimkit platform is very simple. Here, you have to click on the Sign Up button present in the top right corner.
- You have to enter your email in the next window and then press the Continue button.
- As you are a teacher. So, choose the Educator option.
- Enter your first and last name alongside your password. Proceed further by clicking Continue.
- You have to select your country in the next window.
- Now, enter your area of expertise and grade level in the designated boxes and click on Continue.
- Now, the process of Gimkit Join is completed. You can learn more about this platform by getting the tutorial. Press Next for this purpose.
Read More: PebbleGo for Teachers: How to Use it for Teaching
How to Create a Quiz on Gimkit?
Gimkit has given an exclusive term “Kit” to the quizzes created on it. The following steps can help teachers learn how to create their first gaming kit after signing up. In this way, they can schedule their quizzes and assignments with the help of different platforms like RTI Schedular to attend classes on time.
- After creating your account, you will see a button for New Kit on the main page. Click on it.
- In the next window, you have to enter the name of the quiz and language. Also, add the subject and press Next.
- Choose a cover photo for your Kit. You can search the built in collection as well as link it from external sources.
Now, you will see multiple options to add questions from. You can also create on your own and add them
- I usually add questions from the question bank as it is quite a convenient option.
- Select the questions you want to add from the suggestion by pressing the “+” button.
- After adding all the required questions, you have to click on the All Done button present in the top right corner.
- Now, you can play the quiz live in your classroom or assign it as homework to your students depending upon your preferences.
Final Thoughts
That’s all about Gimkit Join and how to create the first quiz. Teachers must use the potential of this high end gamified learning platform to make their lessons more informative and engaging. Additionally, they must understand its interface to check on the analytics and performance of their students.
If you are a teacher, you do not have to worry much regarding the usage of Gimkit. The steps mentioned in this guide can help you create your account as well as generate the first quiz. Share it with your class and start analyzing their performance and knowledge level.


