
Scanning documents on your iPhone is one of the most beneficial features that can primarily help students and office workers keep their essential files safe and secure. However, a question is continuously asked about how to scan on iPhone without facing numerous challenges. While this attribute helps send signed contracts, digitalize receipts, or save important papers, you must master this action to have your hands on the desired outcomes. In this blog post, we have detailed all the steps you must follow to scan on iPhone in 2024.
How to Scan on iPhone?
While scanning on iPhone is a simple task, you must take care of certain critical factors as they will decide the quality of your scanned documents. While researching the web, I often come across the query on how to scan on iPhone as some people are really finding it challenging. Recently, I was scanning some of my crucial documents and thought of coming up with this guide to help the audience perform this activity quite conveniently and effortlessly. You must understand and follow all the steps precisely and accurately to get your hands on the desired results.
1 – Open the Notes App
Firstly, you should learn about the Notes app for iPhone. It is the built-in app provided by Apple and is available in the iOS 11 and above versions. This lightweight application comes with several features. You can use it to type text and save it so you can use it for longer. Also, it is getting increasingly popular because of its document creation and scanning features. To scan on an iPhone, you must access this app. The following steps can help you find Notes on your iOS mobile device.
- Navigate through the apps to find the Notes.
- Alternatively, swipe up from the Home Screen and search for Notes.
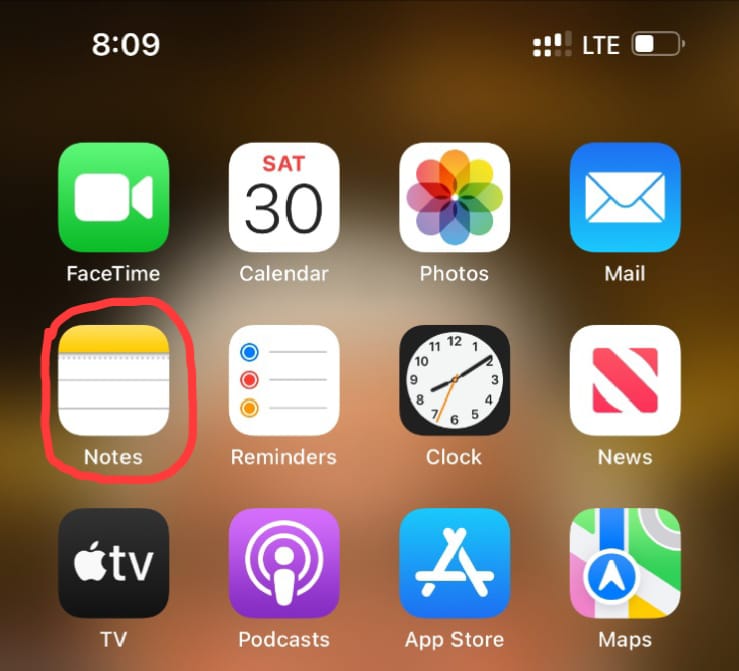
- The Notes app will be represented by the yellow and white markings.
- Click on it to access the app’s homepage.
2 – Access the Scanner
After opening the Notes, you will see a clean and simple interface with some options located around the corners. However, you only have to create a file of scanned documents. Therefore, you must look for the scanner. We have detailed the important steps to access the scanner.
- Look for the pen and paper icon often located on the button right corner on the homepage of the Notes app.

- Clicking on it will take you to a new window and allow you to create a new file.
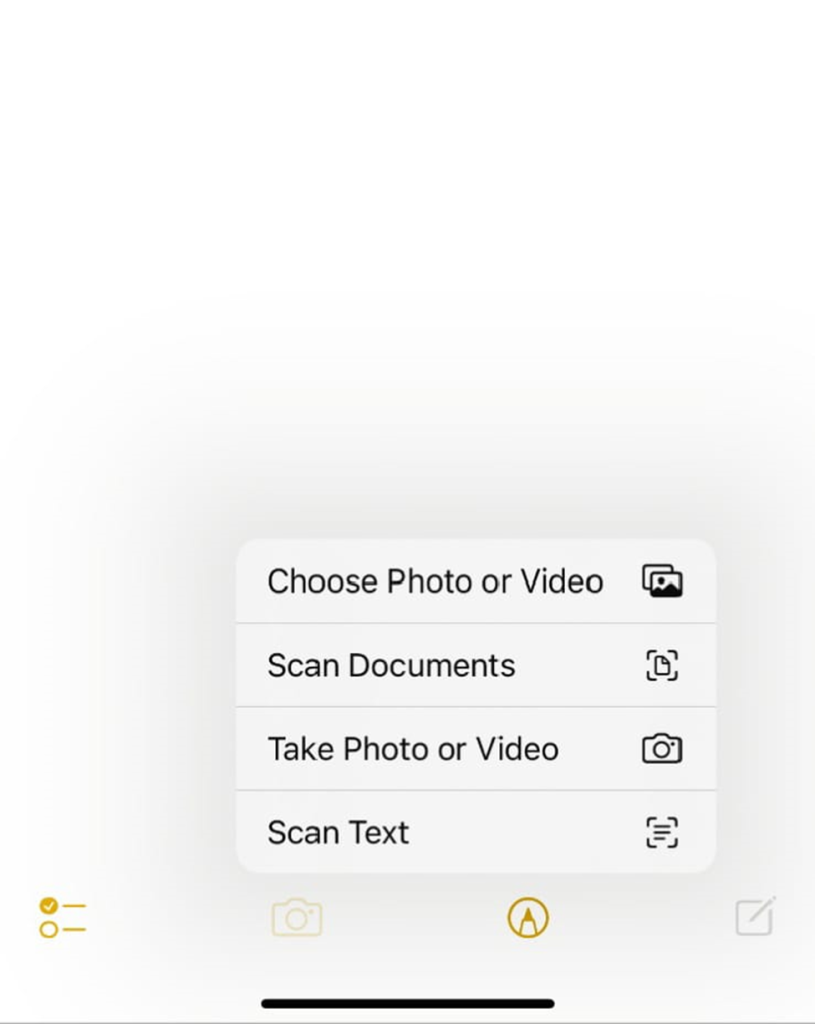
- In the bottom section, you will find a camera icon. Tap on it to open a menu bar.
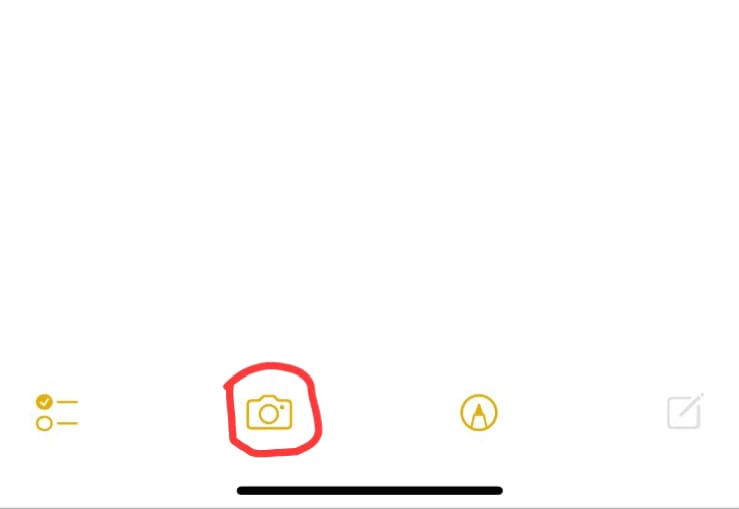
- From the menu, click on the Scan Documents button to open the scanner.
3 – Start Scanning
After clicking the option described in the previous section, you will be able to access the scanner. Now, it’s time to align your important papers under the camera orientation to capture them in high quality. Some essential tips are mentioned below.
- Make sure the document fits into the camera so that you will be able to capture all the corners of the paper.
- Additionally, keep your hands steady to avoid image blurring. You can use a stick or holder to minimize the phone shaking.
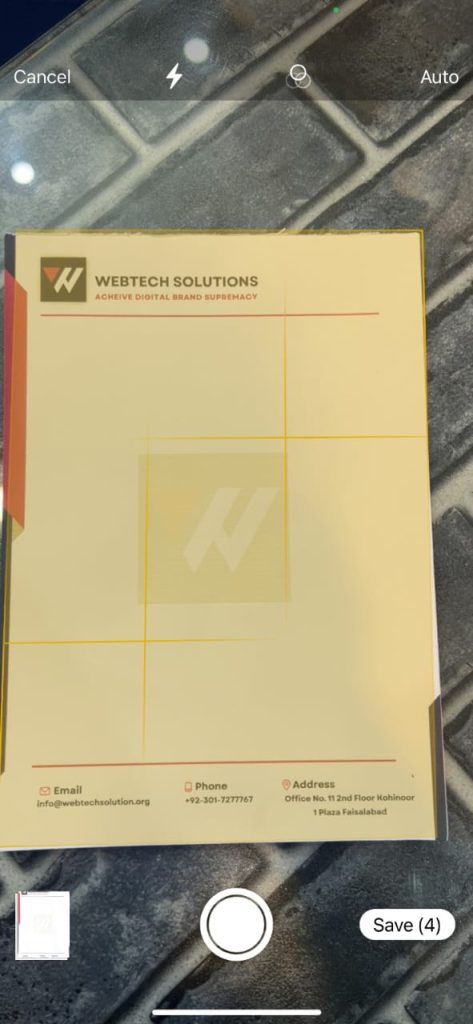
- Also, you should turn off the fans or source of direct air to limit the floating of papers.
4 – Add More Documents
If you want to scan multiple images to create a giant document, you must save the first image scanned and keep on adding the others. This process is also very simple.
- After scanning the first paper and clicking the red button, you will be able to capture the image.
- The image will be added to the document.
- Hold the second paper inside the camera orientation and perform the same operation.
- Continue doing this until you will scan all the papers.
- Click on the Save button present alongside the red button to keep your documents secure.
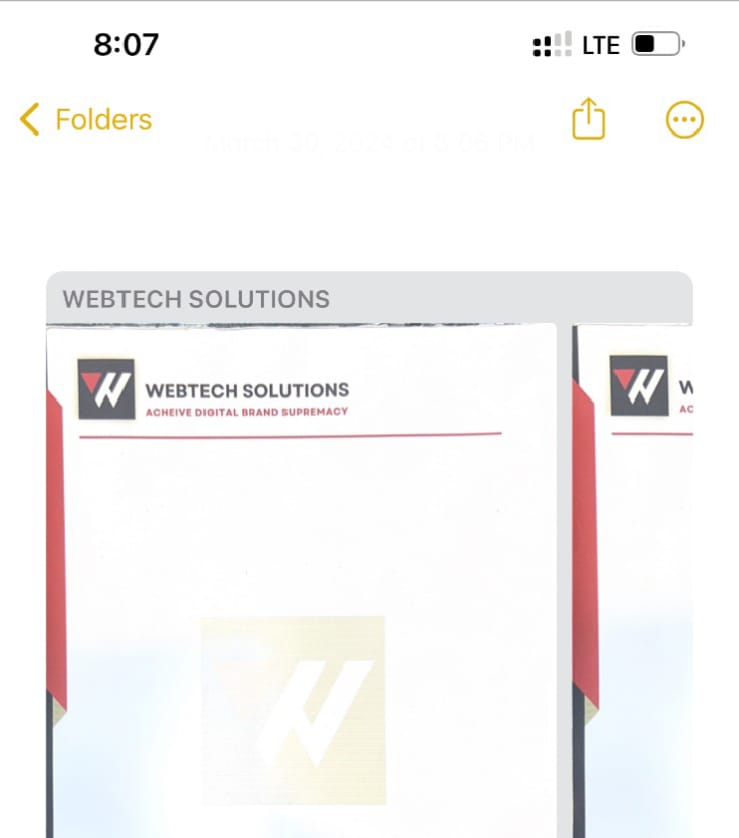
5 – Add Notes
After scanning all the documents, you can add notes underneath the images to describe their purpose.
- On the bottom left of the screen, you will see a bullet checklist option.

- Move to your desired image and click on this button.
- A bullet will be added underneath the image.
- Add the description here to give the image a unique identity.

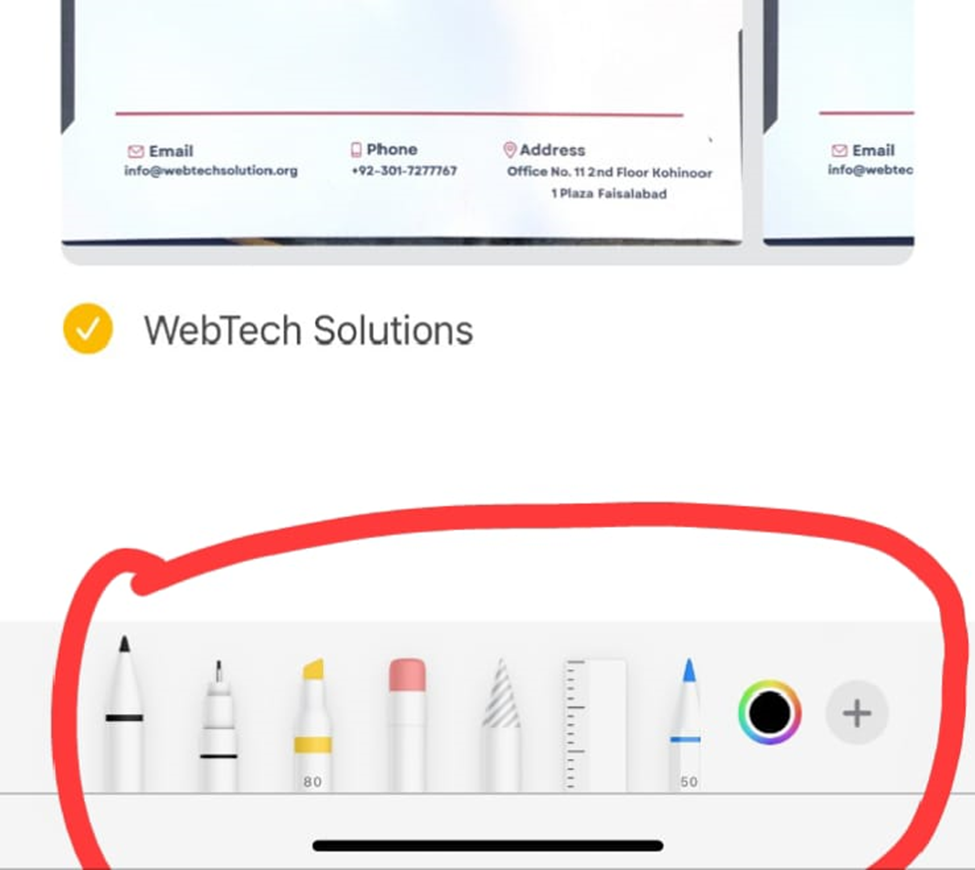
6 – Utilize the Annotation Tools
Alongside the camera icon in the bottom bar, you will see an annotation option. This will help you mark important points on your scanned documents. While looking for the answer to how to scan on iPhone, people also ask queries related to the annotation of the documents. You can access this option quite comfortably on your iPhones.
7 – Understand Sorting Option
In the previous section, we talked about adding notes to your important images. Nevertheless, it is crucial to understand the sorting options as these notes will help you to change the numbering and position of your images. You can sort the checked documents at the top or at the bottom at your convenience.

8 – Cross-Check Your Scan
After scanning all the images, make sure to double-check them. It will help you to discard the ones that are blurred. You can also enable an automatic sorting option to perform this activity on its own without facing any challenges.
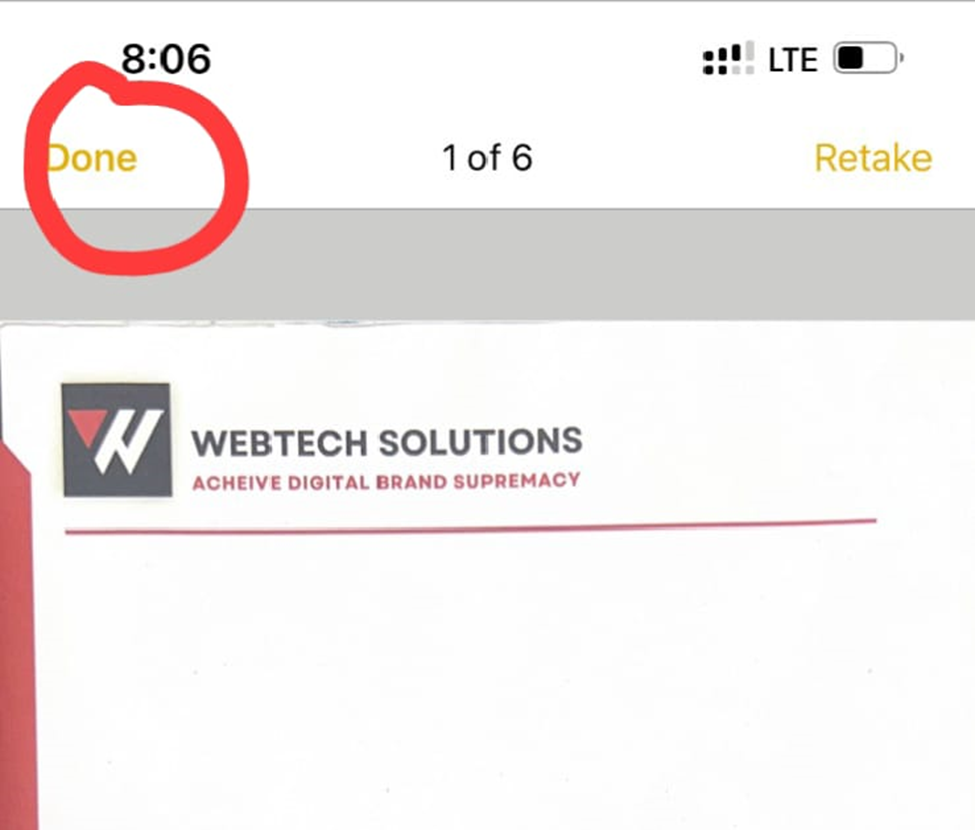
9 – Save the Scanned Documents
After following all the processes described above, it’s time to save your progress. Simply click on the Done option present on the top left corner of your iPhone’s Notes app screen.
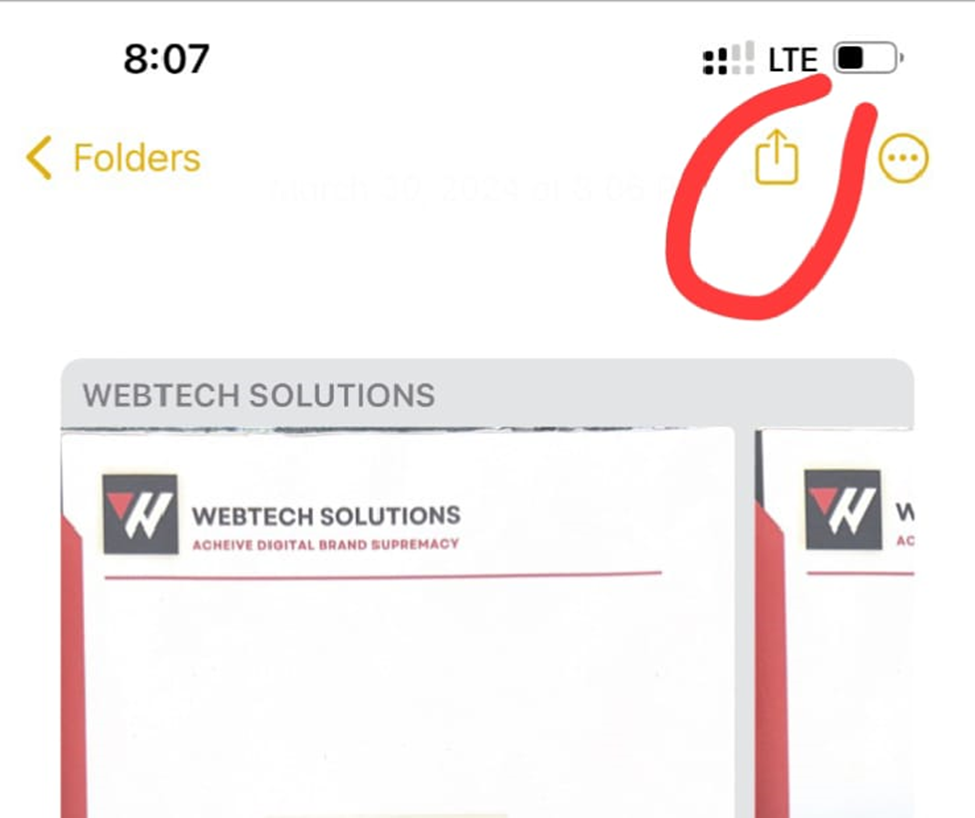
10 – Share Your Scan
On the top bar, you will find three dots that will represent more options. Additionally, a share button is present that can help you share your scanned documents with others.
Final Verdicts
These are the steps you must follow in a precise fashion to overcome the challenges of how to scan on an iPhone. While the iOS version offers a convenient way to scan the images and digitize your physical papers, it is necessary to take care of certain steps that will streamline your task and help you accomplish it more conveniently and effortlessly. The steps mentioned in this guide enable you to keep your documents secure and share them with others. Keep your hands steady while scanning to enhance the quality of the scanned images.