AI image generators are the most powerful tools that can help you convert your texts into images with the help of Artificial Intelligence. Over the years, Microsoft has integrated the latest technology into its infrastructure to improve its performance and become the biggest brand in the technical world.
Bing, owned by Microsoft, has also traveled a wholesome journey of improvements. It now offers various functionalities, including the ability to create images with the help of AI.
In this blog post, I have detailed how to create images with the help of Bing AI Image Generator.
Bing AI Image Generator – Overview
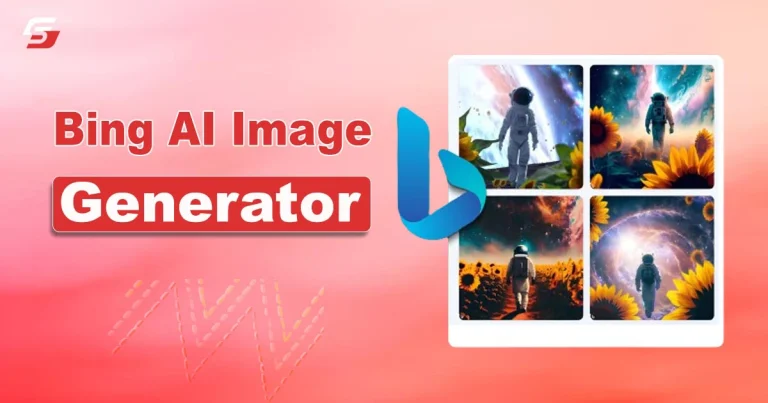
Bing AI Image Generator is an AI tool designed by Microsoft and integrated into Bing to enable users to create compelling and realistic images with the help of short descriptions. Leveraging the potential of advanced algorithms including machine learning, this platform can understand your text in a more precise way to create images accordingly.
One of the best parts about this tool is that its images are highly likely to be real. As a result, it is becoming a valuable asset for various artists, content creators, and others who are looking for enhanced and unique visuals.
Key Takeaways
While all the details are mentioned in the guide above, some key points to be noted are the following as they will further ease the whole procedure.
- You can use the Bing AI Image Generator without sign-in. However, if you create an account, it will help in personalizing the results and storing the information for future use.
- Make sure the description prompt is easy and elaborative to enable algorithms to understand your requirements and preferences.
- Lastly, you can access this high-quality image generator tool on your smartphone as the Copilot app is available for both Android and iOS devices.
How to Create Images with Bing AI Image Generator?
Although Microsoft has made incredible efforts to simplify the interface of Bing AI Image Generator as much as possible, some beginners are still struggling to access and utilize its features. That’s why I have created this step-by-step guide to help you in this process. It is necessary to learn and implement all the tactics accurately for better outcomes.
You can access the Bing AI Image Generator directly from the official website https://www.bing.com/images/create. Further, if you have installed the Copilot app or Microsoft Edge browser on your device, you can use this tool effortlessly.
- Open the Edge browser and wait until it loads completely.
- On the homepage of this browser, you will see the Copilot icon in the top-right corner of the sidebar. Click on it to open this AI platform.
- Now, click on the full-screen icon to expand it on the whole screen for easier working.
- Afterward, you have to log in to your Copilot account by entering the credentials. However, if you haven’t used it previously, you need to create a fresh account. So, click on the Sign In button.
- A pop-up will appear showcasing different options. You should choose the personal account option.
- On the new window, you have to click on the Create One option.
- Enter the email address on which you want to create your new Copilot account, and then click on the Next button.
- Then, generate a stronger password to keep your account secure. Again, press the next button after typing your password accurately.
- The upcoming pop-up will ask for your first and last name before allowing you to move to a new window. Press Next.
- Select your country of residence and date of birth.
- Open your email and copy the verification code. Paste it into the designated section and then press Next.
- Verify the captcha to confirm that you are not a robot. In this way, you will be able to create your new Copilot account.
- After creating your account, you will be redirected to the Copilot homepage.
- You have to click on the Designer tool on the right sidebar.
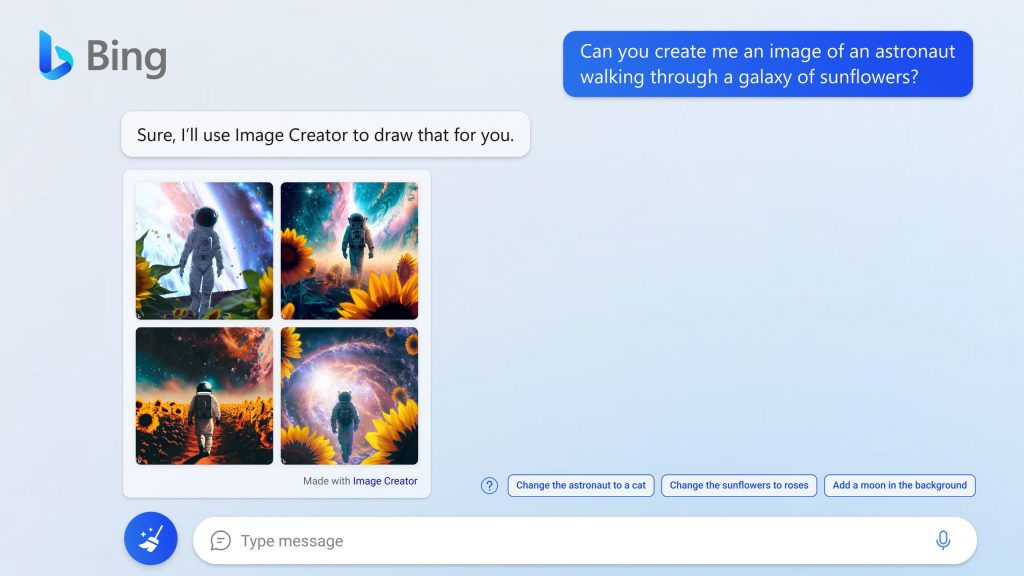
- In the description box, enter the prompt for your image. Click on the next arrow to start processing.
- Verify the images results and view them simply by clicking on them. However, if the outcomes are not as accurate as you want, you can always add additional details to customize the image.
- After getting the desired results, you can download or store the images on your device. Clicking on the image from the results page will open a new window. Locate the download button and click on it. The download will start automatically.
Now, you can use these pics in your projects or for other purposes. However, you can’t sell or use the images commercially as Microsoft holds the copyrights of them.
Winding Up
These are the details on how to create images with Bing AI Image Generator. The whole procedure is extremely simple because of the user-friendly interface and faster processing of this tool. Furthermore, the working functionality is tremendously accurate, making sure that algorithms can understand the contextual commands perfectly and design the images accordingly.
However, if you are uncomfortable using a tool or accessing its features, you can follow the steps mentioned in this guide to take your experience to an advanced level. This high-quality image generator tool has surpassed the level of popularity of all other tools.
FAQs
How do you create images using Bing AI?
You only have to enter the text to give the command to the Bing AI. The algorithms will process the data to generate the image accordingly.
Can I use Bing AI Image Generator for free?
Bing AI Image Generator is completely free to use as it is provided by Microsoft. You can access it directly through the official website or Edge browser.
Can I sell Bing AI art?
Microsoft holds the copyright of every image designed with the help of its AI tool. Therefore, you can’t use them commercially or sell them.
How long does it take for Bing AI to generate images?
With few exceptions, Bing AI can create images in only a few minutes. However, if your Internet speed is slow, it may take some more minutes.


